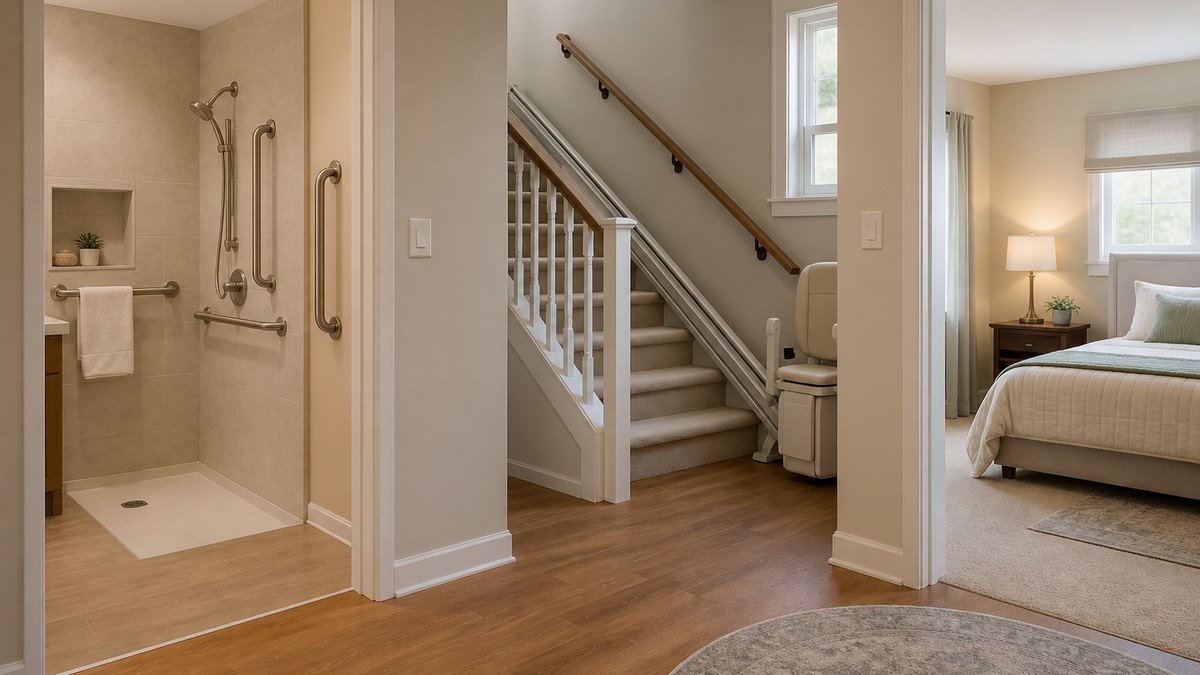
A bathroom grab bar is only as safe as its anchor. The rule that every installer states first decides everything else: mount the bar into wall studs or add blocking behind the wall, because an ADA-compliant bar supports at least 250 pounds and drywall alone fails at a fraction of that load.
Placement then follows the transfer points. Horizontal bars sit 33 to 36 inches above the finished floor around toilets and in showers, a vertical bar helps at the shower entry, and the RUBI tile-shower guide and the placement guides agree on the same numbers.
The grab bar installation shower project comes down to three questions: where the studs are, where the transfers happen, and whether to do it yourself or hire it out. The sections below run the stud rule, the placement specs, the installation steps, the mounting options, and the cost.
The stud rule: why the anchor decides everything
Grab bars mount into wall studs, which sit 16 inches apart behind most walls, or into blocking added between studs, and the Grab Bar Specialists installation guide states the reason bluntly: never anchor a grab bar into drywall, because it will not hold and the user could be seriously injured. The 250-pound rating of an ADA-compliant bar assumes the stud mounting, not the wall surface.
When a stud is not where the bar needs to go, the fix is blocking: a piece of 3/4-inch plywood, 6 to 12 inches wide, nailed between the studs before the bar is mounted. A hollow-wall anchor like a wingit or toggle is the alternative for walls where blocking cannot be added, and plastic wall plugs are not a substitute, because they hold a towel bar, not a person’s weight.
The stud location comes first in the sequence because it decides where the bar can go: find the studs, mark the positions, and then place the bar where the studs and the transfer needs overlap. A bar placed at the perfect height with no stud behind it is a bar that needs a different location.
Placement: where each bar goes and at what height
The placement specs come from the ADA framework, and the professional guides apply them to residential bathrooms. Horizontal grab bars sit 33 to 36 inches above the finished floor, around toilets and in showers, high enough to support a transfer and low enough to reach from a seated position. Around a bathtub, the bar sits 7 to 11 inches above the rim.
In the shower, the minimum is two bars: one on the entry wall and one on the side wall, because most shower falls happen at the entry transfer, stepping over the lip or threshold. The entry bar installs vertically, 18 to 24 inches from the showerhead end, and the advanced setup adds front and back wall bars. A vertical bar at the entry doubles as the pulling bar for rising from a shower bench.
Lengths follow the use. The main side-wall bar is at least 24 inches long, a second support bar at least 12, and a bar angled at 45 degrees, which spans the 16-inch stud spacing with a screw in each stud, serves users of different heights around a toilet or tub. Bars mount with 1.5 inches of clearance from the wall, which gives the hand a full grip. The clearance number is the one most DIY installations get wrong, because a bar flush against the wall looks finished and grips like a pipe.
Installation: finding studs, drilling tile, and sealing
The installation sequence protects both the bar and the tile. Find the studs with a stud finder and mark the bar’s flange positions, then drill through the tile at the marked spots. Tile drilling needs the right bit: carbide-tipped for ceramic, diamond for porcelain, with a pilot hole and steady pressure so the glaze does not crack.
Mount the bar with stainless steel screws into the studs or blocking, align the flanges, and tighten evenly. In a wet area, apply a bead of 100% silicone sealant around the back of each flange before final tightening, which keeps water from seeping into the wall cavity behind the tile.
Test the bar with a firm downward and outward pull after mounting, because a bar that moves under a test load will move under a person. The test is the same one the installer runs and the one a family should run again after a year of use.
Mounting options ranked: studs, blocking, anchors, and the suction trap
The mounting methods rank by what they hold. Studs are the gold standard: the bar’s 250-pound rating assumes them. Blocking is the retrofit equal, adding a solid mount where studs miss. Hollow-wall anchors, wingits and toggles, hold the bar but less of the load, and they are the professional fallback, not the first choice.
Suction-cup bars are not a mounting method, and the installation guides do not list them among the options for one reason: a suction bar holds a firm test pull when installed, which is exactly why it fails. The surface test passes, the real-world load comes from an angle the suction cannot hold, and the fall happens at the moment of trust. They are travel accessories for hotel showers, not bathroom fixtures.
The rank order is the buying order: if the wall cannot take studs or blocking, choose the anchor-rated bar with the highest capacity, and treat any bar that relies on the surface alone as decoration.
Cost: the bar, the labor, and the DIY decision
The grab bar installation cost splits into the bar and the labor. Bars range from about $13 to $120 depending on length, material, and finish, and the professional installation of one or two bars runs $75 to $150 when studs are available for mounting, per the Home Depot installation service. If the installer must add blocking or work around tile and plumbing, the price rises with the added work.
The DIY decision comes down to the wall and the drill.
A bar mounted into exposed studs with a stud finder and a screwdriver is a reasonable weekend project. A bar mounted through tile, or into a wall where the studs miss the transfer point, is the case for a professional, because the blocking, the tile drilling, and the sealing are the parts that fail when done casually.
Free installation for seniors exists through some local programs: area agencies on aging, some fire departments, and nonprofit repair programs install grab bars for income-qualified older adults, and the aging-in-place home modifications guide covers the funding routes for the larger bathroom work.
Common installation mistakes and how to avoid them
The mistakes that end badly are the ones that trade a day of work for a year of trust. Mounting into drywall or tile without a stud or anchor behind it, using plastic wall plugs, installing at the wrong height, choosing a bar too short to span two studs, skipping the silicone seal in a wet area, and testing with a gentle tug instead of a firm pull.
Each has the same prevention: locate the studs before placing, use the manufacturer’s mounting hardware, follow the 33-to-36-inch height, keep the main bar at 24 inches or longer, seal the flanges, and test the bar with body weight before calling it installed.
The wheelchair ramp cost guide covers the related accessibility cost question for the entry, and the two projects share the same rule: the anchor and the placement decide whether the money bought safety or decoration.
Frequently asked questions
How much does it cost to have grab bars installed?
The grab bar installation shower cost splits into the bar and the labor. A simple installation of one or two bars, where studs are available for mounting, typically runs $75 to $150 for labor, and the bars themselves cost about $13 to $120 depending on length and material. If the installer must add blocking or work through tile, the price rises with the added work. Some area agencies on aging and nonprofit programs install grab bars free for income-qualified seniors.
What is the proper placement of grab bars in a shower?
The minimum setup is two bars: one vertical on the entry wall and one horizontal on the side wall at 33 to 36 inches above the floor. The entry bar, about 18 to 24 inches from the showerhead end, is the highest-value placement because most shower falls happen at the entry transfer. Advanced setups add front and back wall bars, and around a bathtub the horizontal bar sits 7 to 11 inches above the rim.
Do shower grab bars need to be installed in studs?
Yes. Grab bars mount into wall studs or into blocking added between studs, because an ADA-compliant bar supports at least 250 pounds and drywall or tile alone fails at a fraction of that load. Hollow-wall anchors like wingits or toggles are the professional fallback when studs cannot be reached, and plastic wall plugs are not a substitute.
What are the common grab bar installation mistakes?
The common mistakes: mounting into drywall without a stud or anchor, using plastic wall plugs, installing at the wrong height instead of 33 to 36 inches, choosing a bar too short to span two studs, skipping the silicone seal in wet areas, and testing with a gentle tug instead of a firm pull. Each is prevented by locating the studs first and following the manufacturer’s mounting hardware.
Is there free grab bar installation for seniors?
Yes, through local programs: area agencies on aging, some fire departments, and nonprofit repair programs install grab bars free or at reduced cost for income-qualified older adults. The county area agency on aging is the first call, and the aging-in-place home modifications guide covers the funding routes for the larger accessibility work.